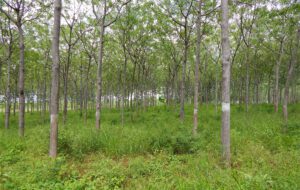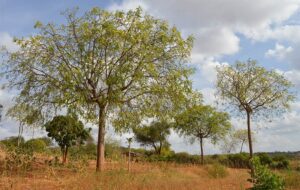
Mukau (Melia Volkensii) — From Fruit to a Massive Mahogany Tree
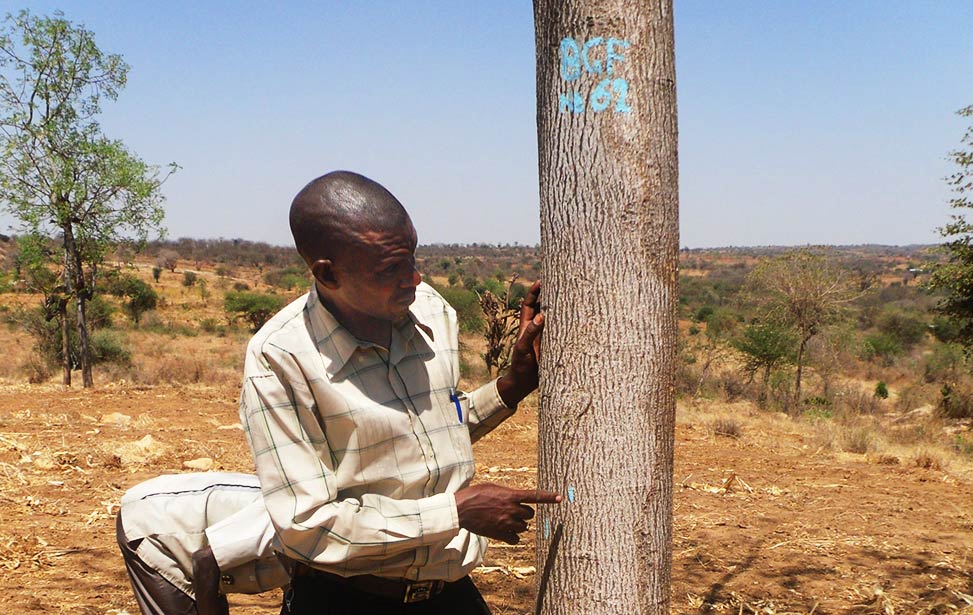
Mukau Plus Trees
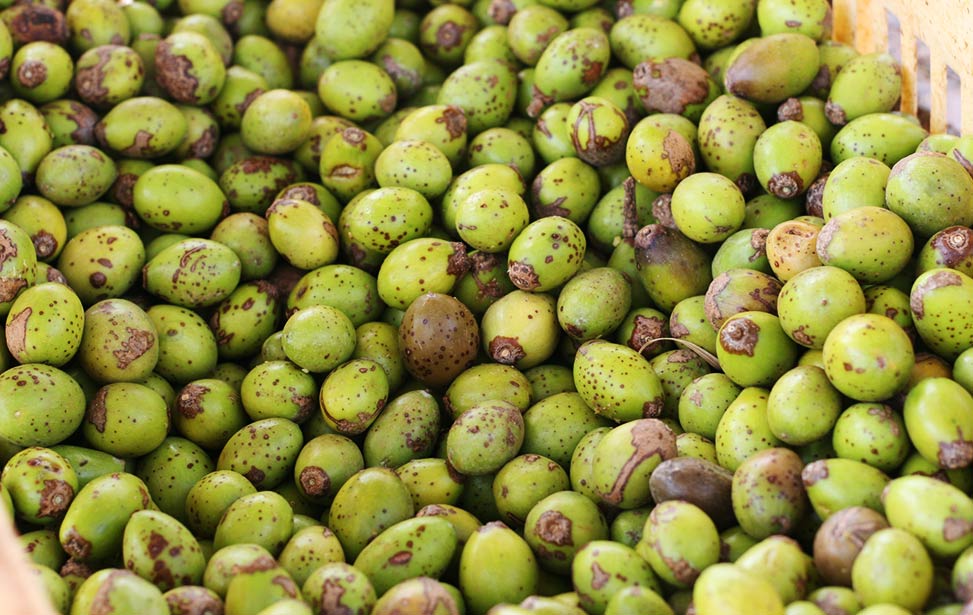
Since the species has a high commercial value, much of the natural population has been cut. The best trees, which are straight and healthy, have mostly disappeared, and poor quality specimens, with crooked stems and heavy branches, have been left. This means good quality seeds are difficult to find.
It is important that the seeds we use to plant new trees are of high quality. We therefore harvest fruits only from mukau “Plus” trees. Those trees have been marked for their superior quality and growing progress, which increases the likelihood of acquiring good seeds.
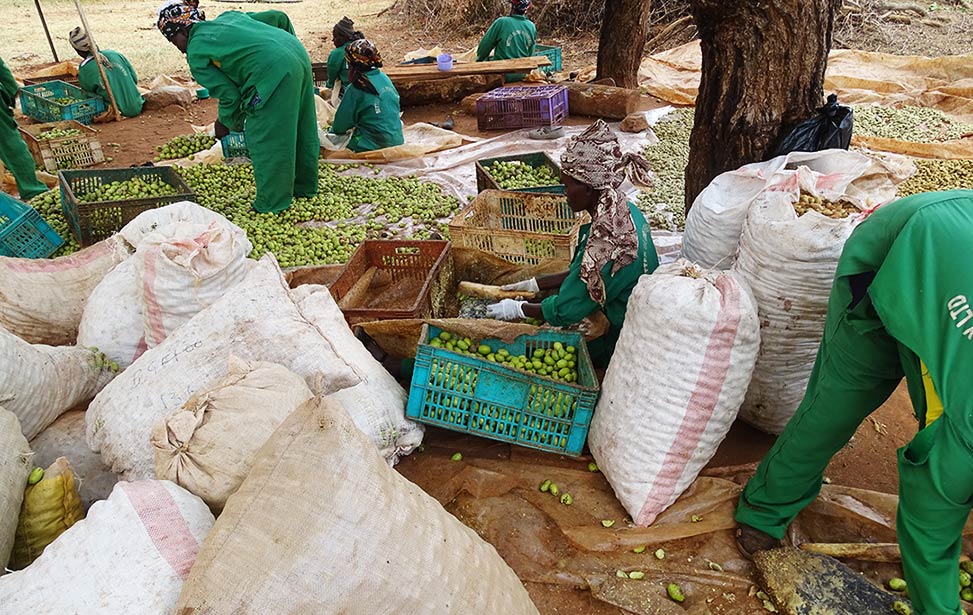
The Process of Extracting Seeds from Mukau Fruits and Nuts
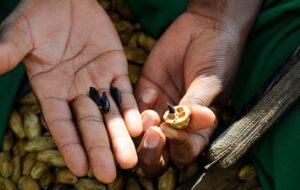
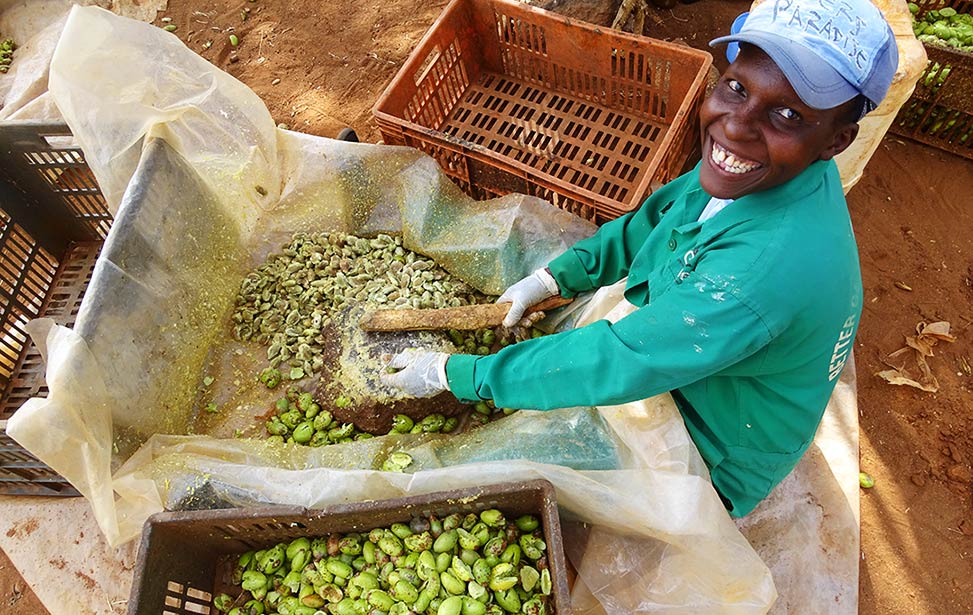
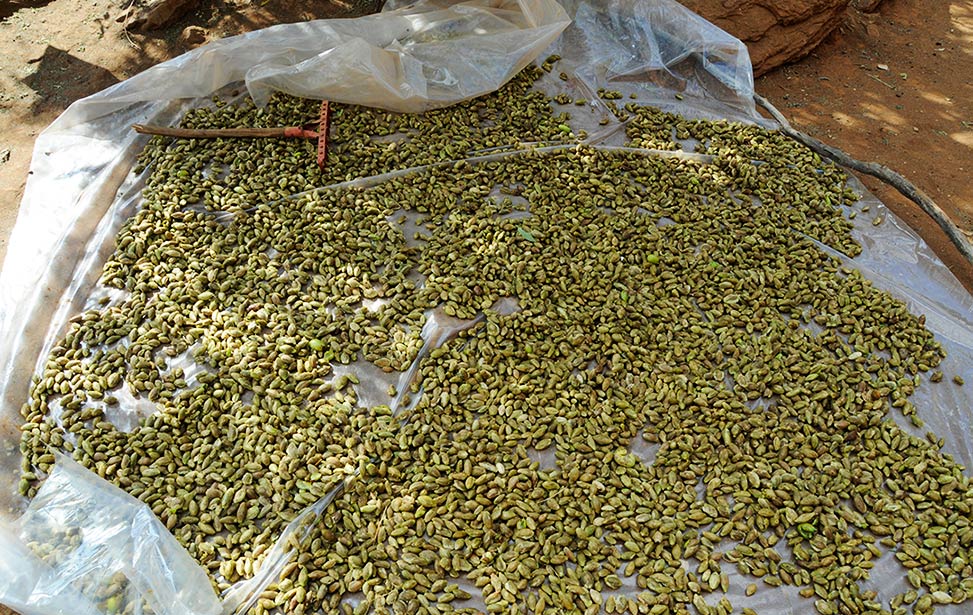
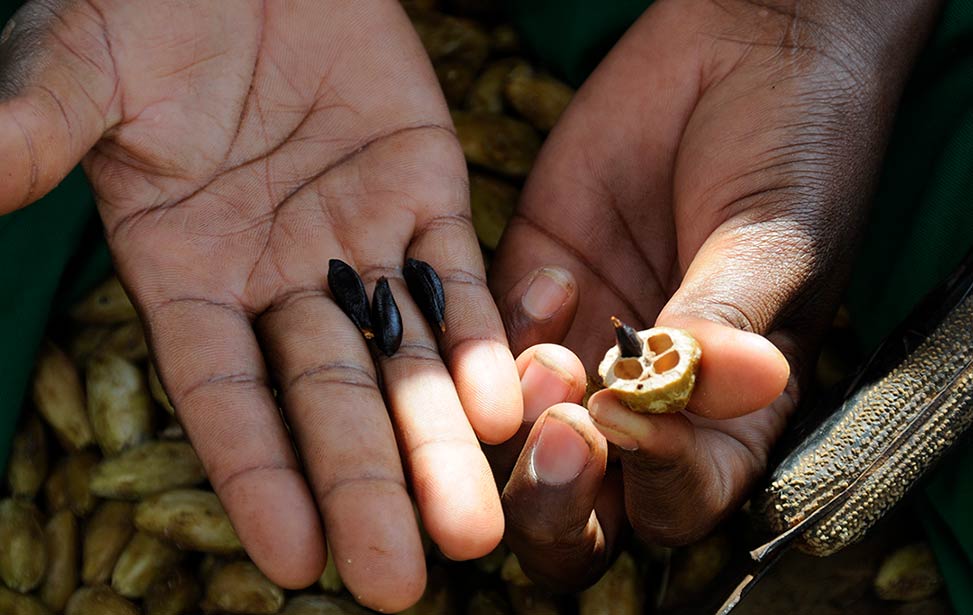
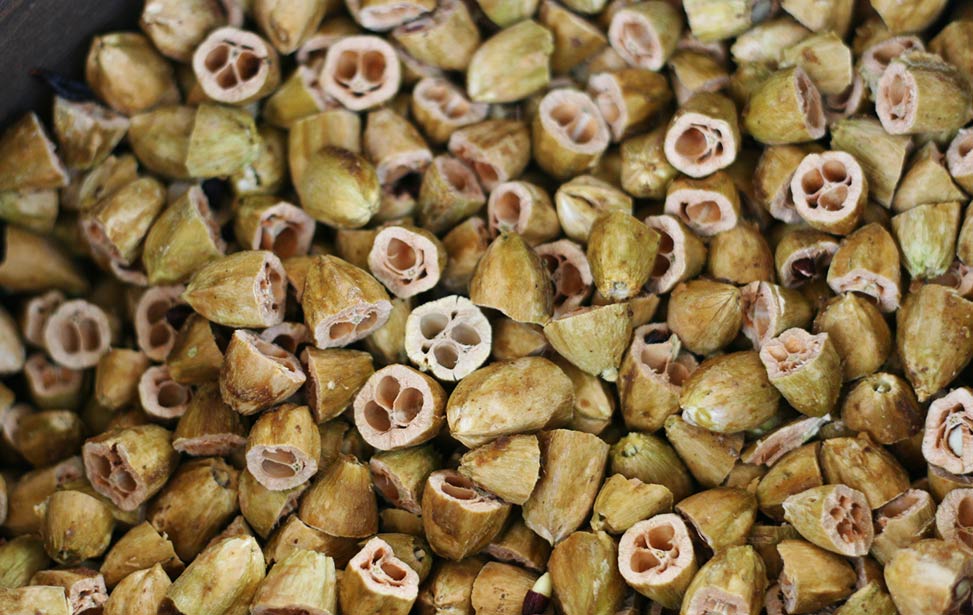
A mukau fruit contains two to four seeds that are encased in a hard nut. It is hard to extract seeds out of mukau fruits and it is done manually. First, we remove the outer cover of the fruit by hitting the fruit with a piece of wood while it is lying on a stone. The nuts inside the fruits are covered with pulp so we wash and sun-dry them for a couple of hours until they are clean and dry.
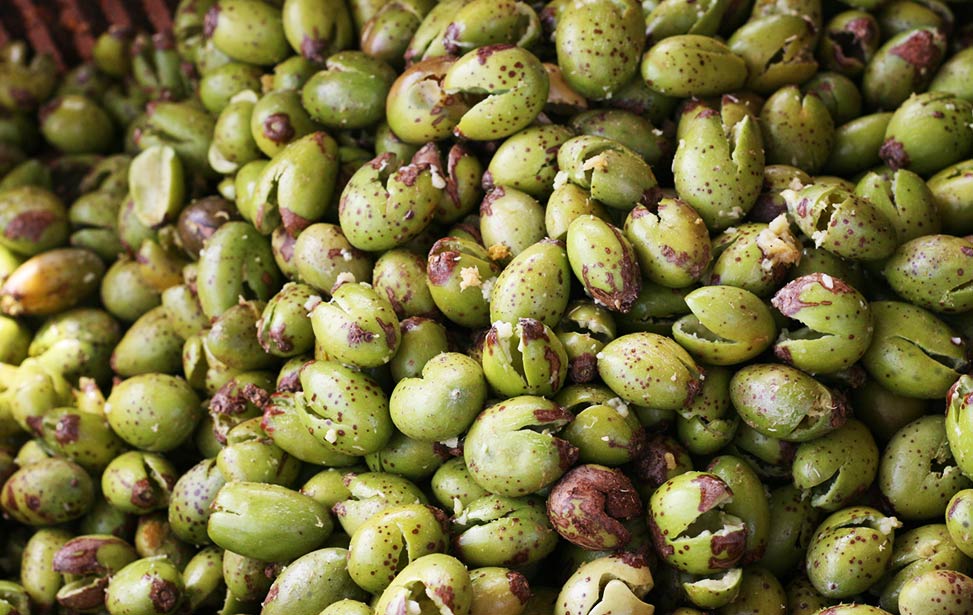
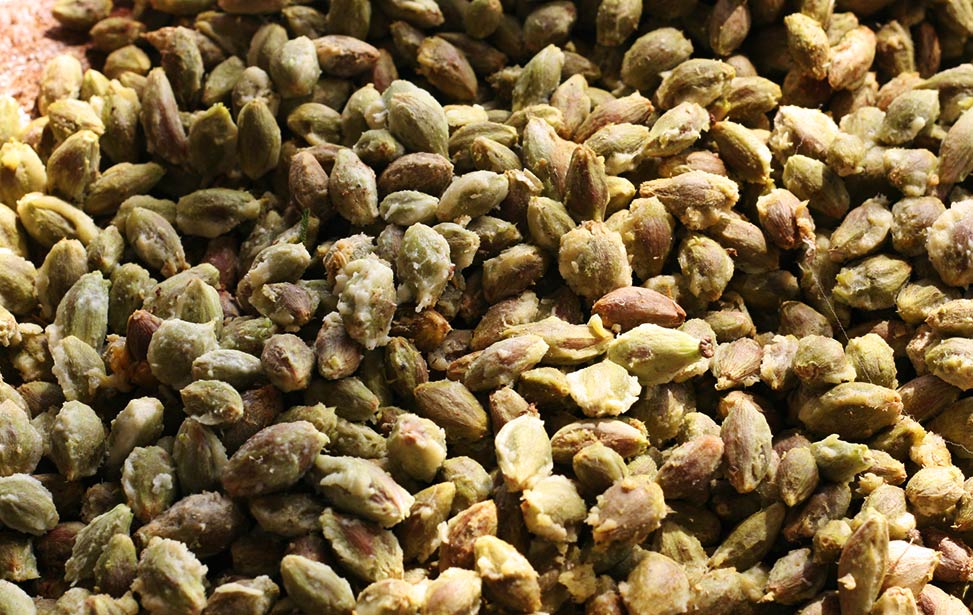
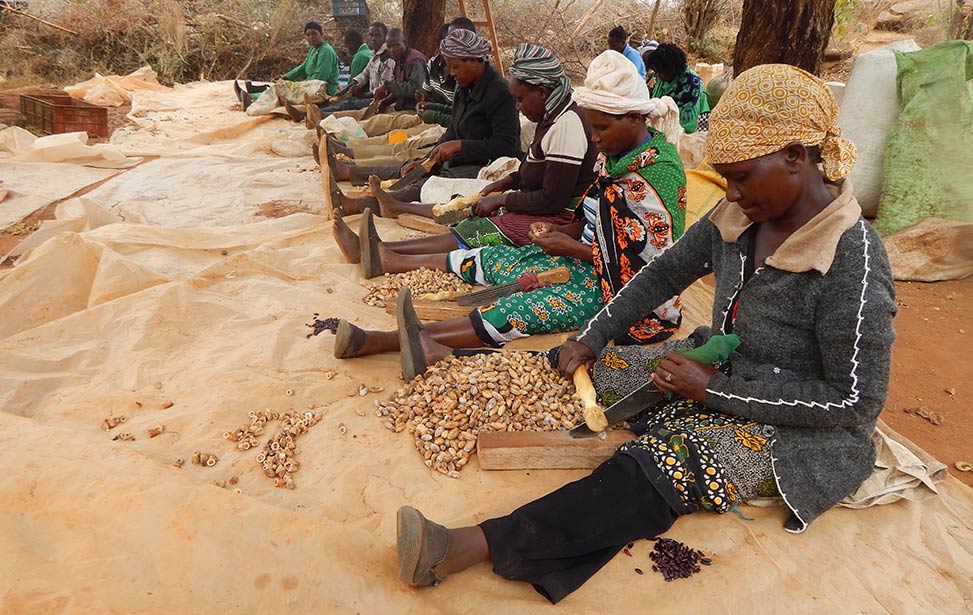
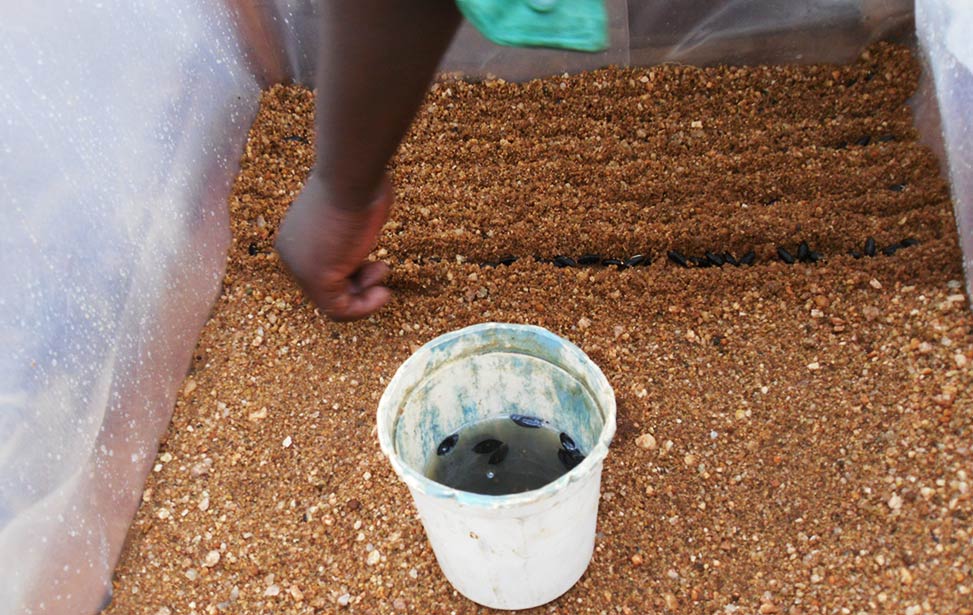
Cracking the nuts is a delicate process. Ordinary nut crackers cannot be used, since the nuts are too hard. Instead we use a knife or a panga (a bladed African tool like a machete) and hit the knife with a piece of wood to carefully crack the nut without damaging the seeds. The seeds are then pulled carefully from the cracked shell to prevent damaging its coat. If so, the seed is rejected. Once extracted, the seeds are nipped at the top, and soaked in water to allow germination.
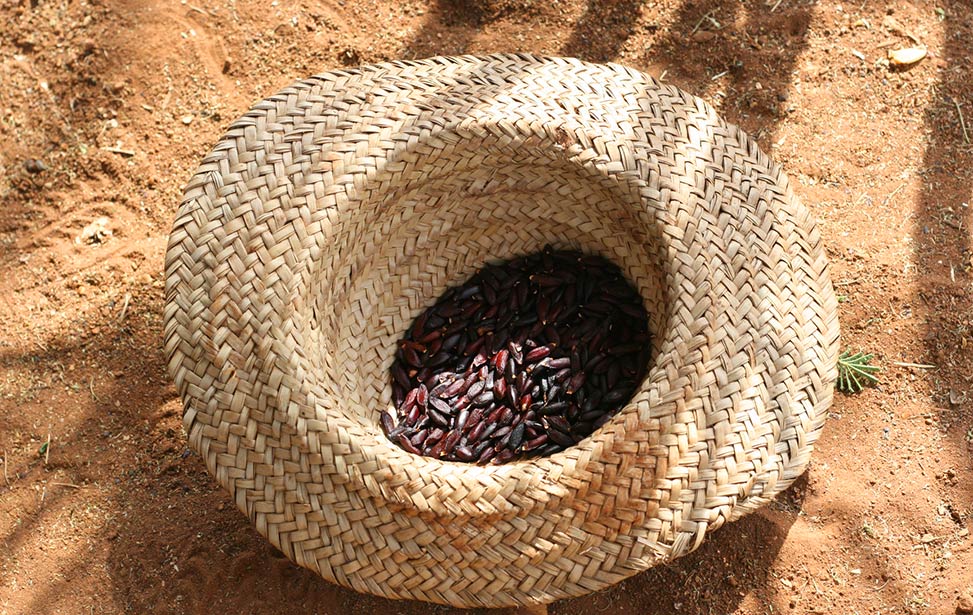
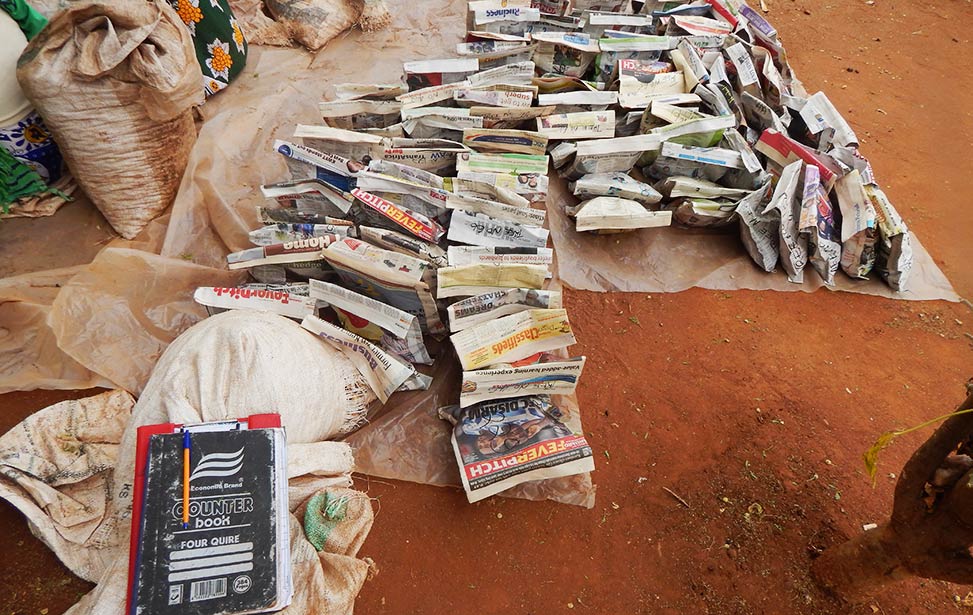
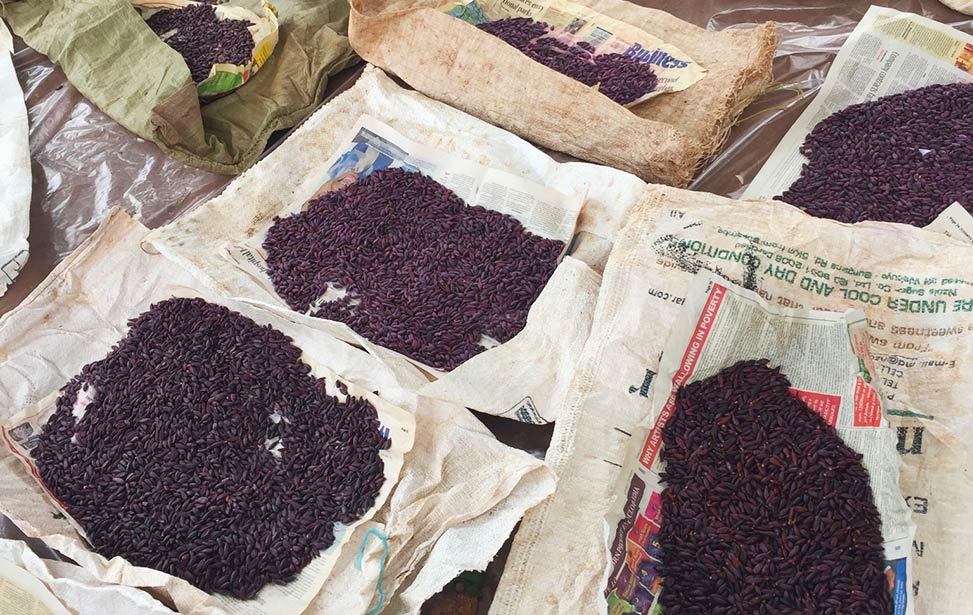
The seeds are then sorted into newspapers/paper bags, which is ideal for breathing and to avoid fungus. Everything is recorded and signed for in a counter book as of which tree the nuts came from, time and date, where the seeds are planted etc. to keep track on and control the whole process. From here, seeds are planted on the local plantation or/and distributed to our other locations.
From Seeds to Seedlings
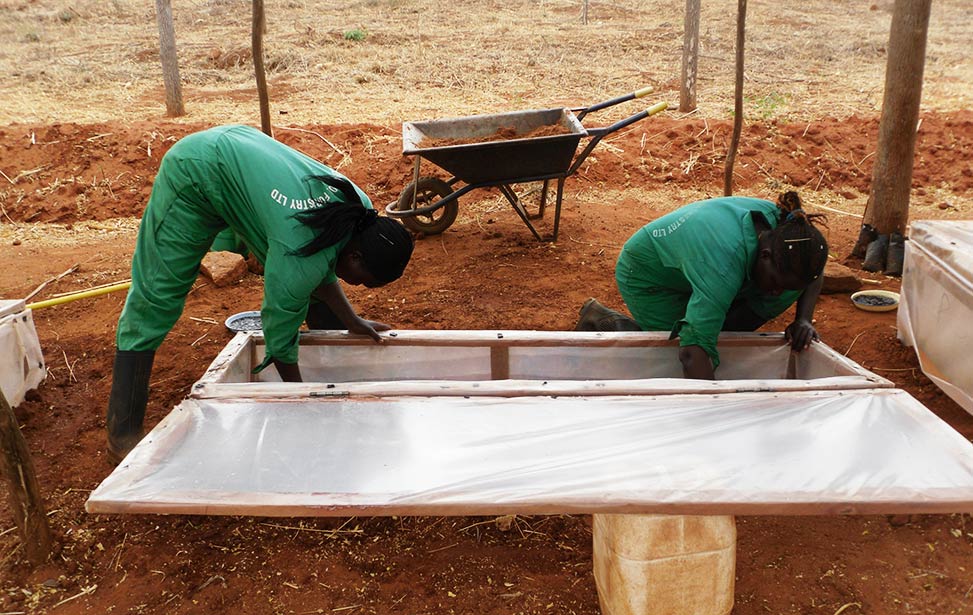
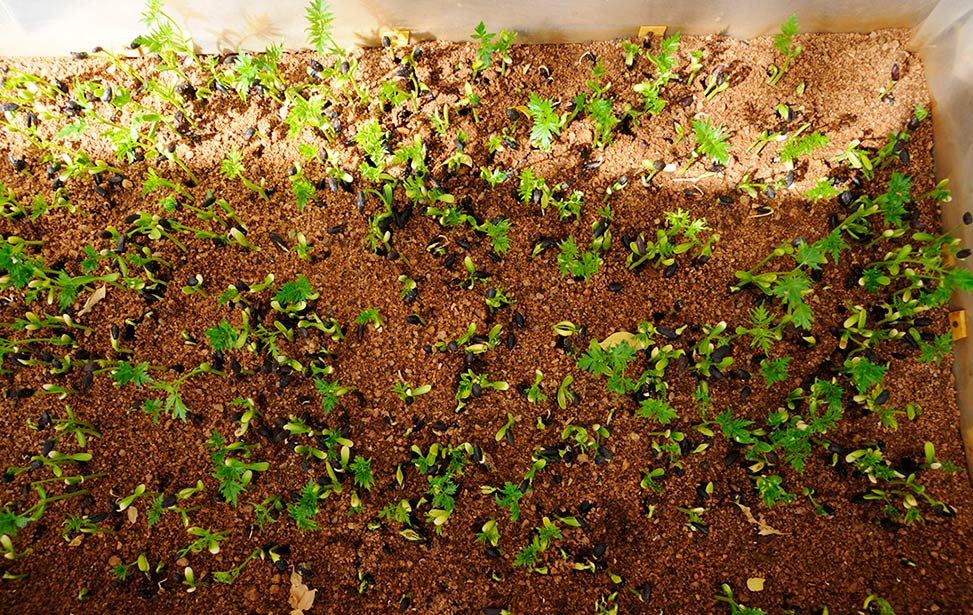
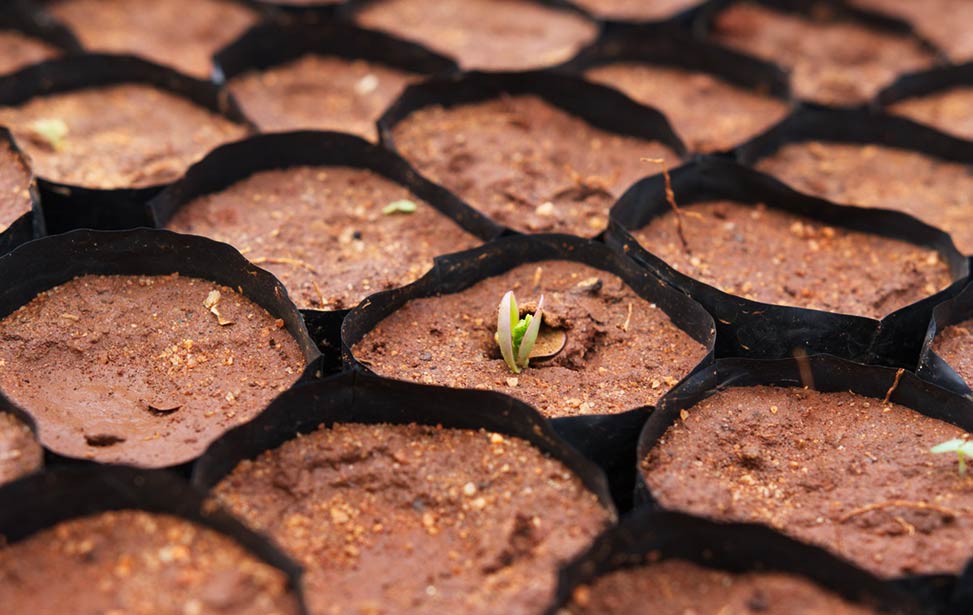
Germination requires a hot and moist environment. This environment can be achieved by various means, a popular one being the use of so-called propagators. These are boxes made of plastic nailed to a wooden frame, which act as little greenhouses. After 7 to 10 days, with proper care, about 70 percent of the seeds will germinate. The little seedlings are then transplanted into pots/polybags for further growing. These freshly pricked-out seedlings need initial protection against cold and direct sun and are put into germination tunnels where they stay for about seven days.
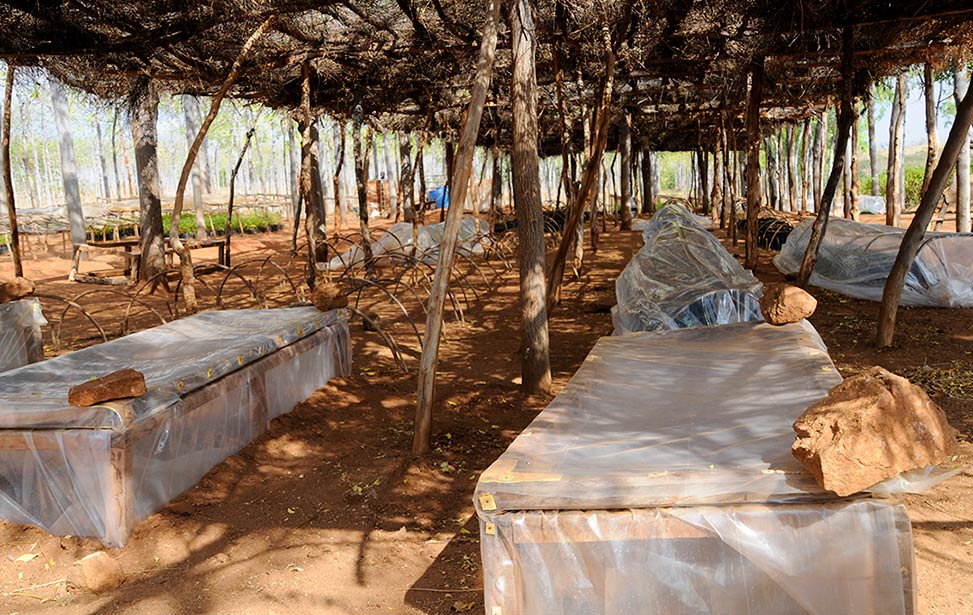
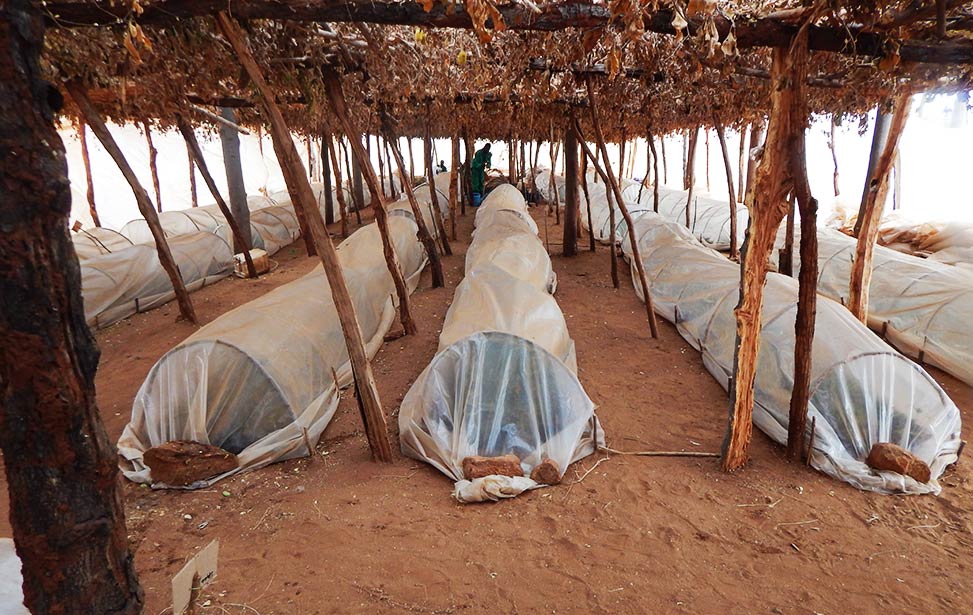
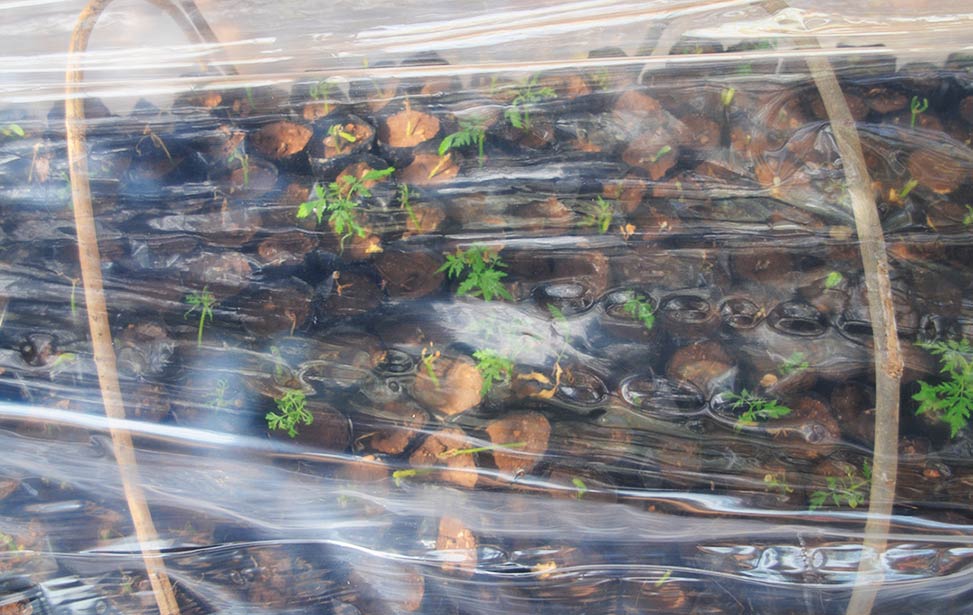
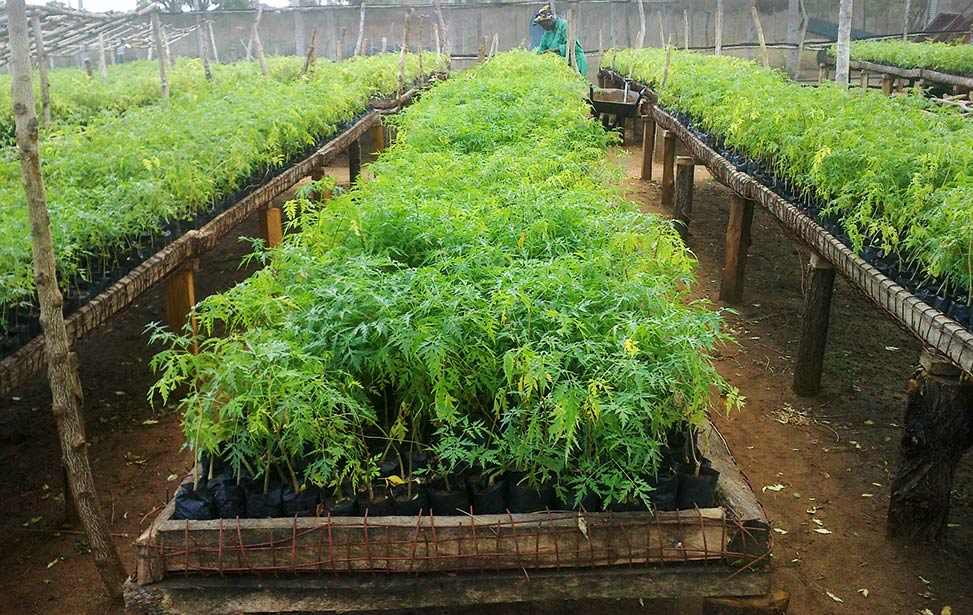
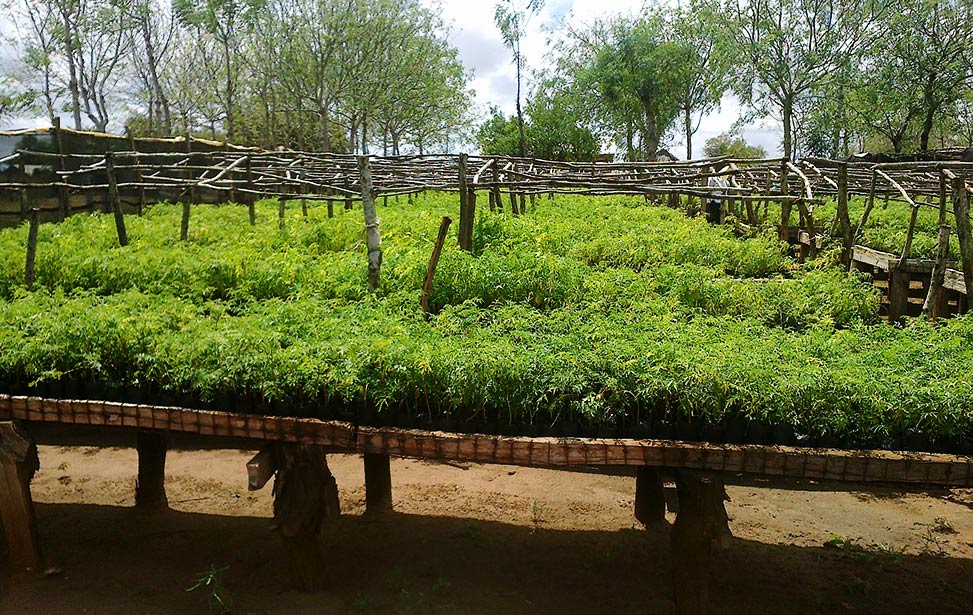
From here, the seedlings are transported into nursery beds covered with plastic to protect against rain. This will harden the seedlings and make them stronger. After three weeks, the seedlings will harden off in the open without any plastic cover for about two months until they are ready to be planted in the field.
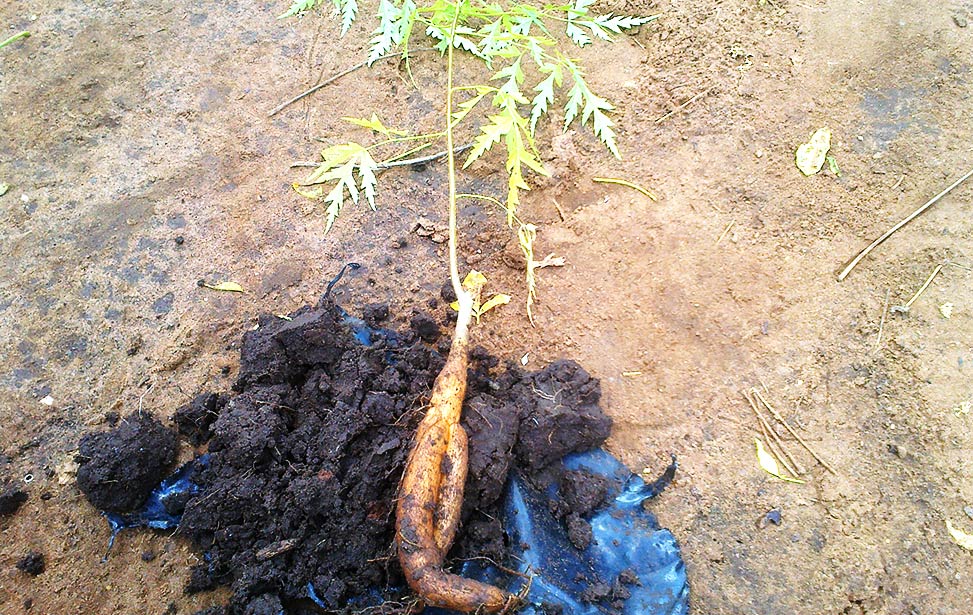
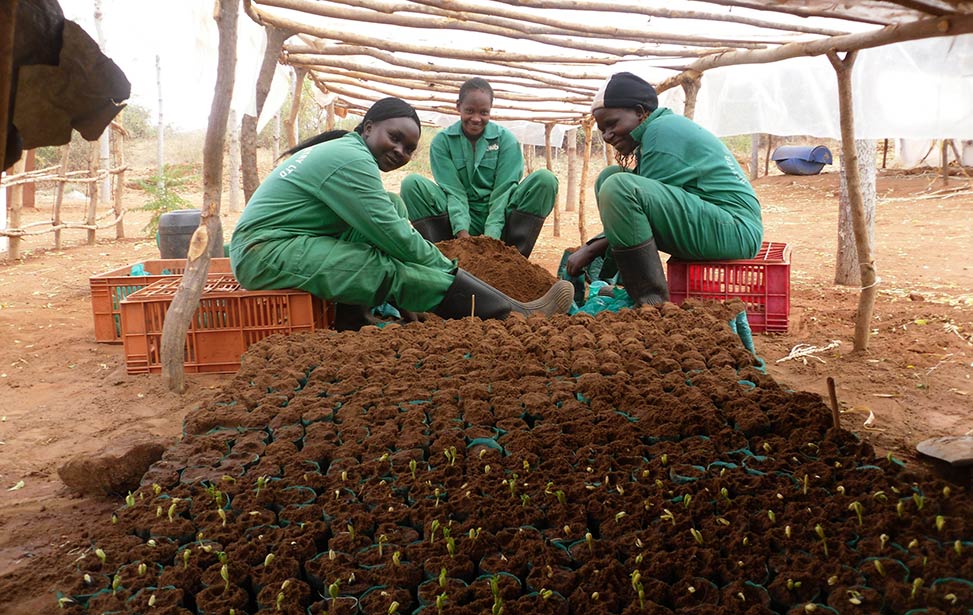
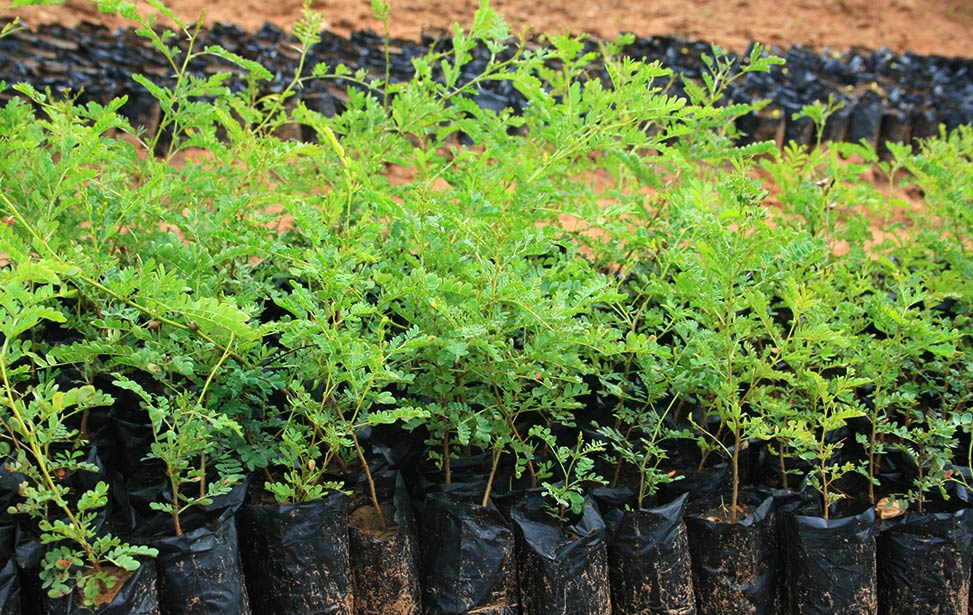
The total process of seedling production, between sowing and obtaining seedlings of appropriate size (one foot high) takes about three to three-and-a-half months. To shorten the process, farmers often collect root suckers from existing trees, and plant them in their farms. Sometimes seeds germinate in the wild, notably after fires or after dispersal by goats. Such seedlings are called wildings.
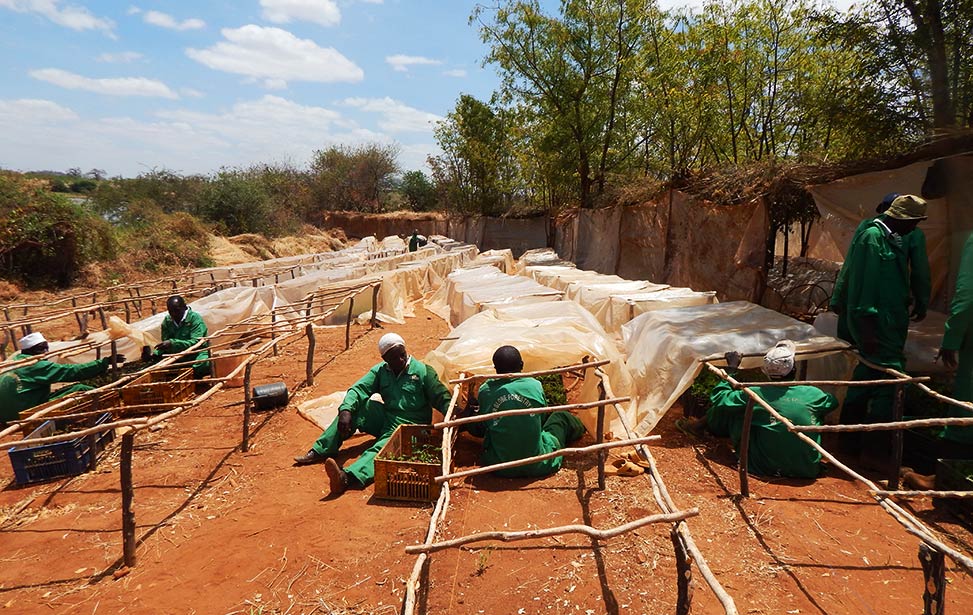
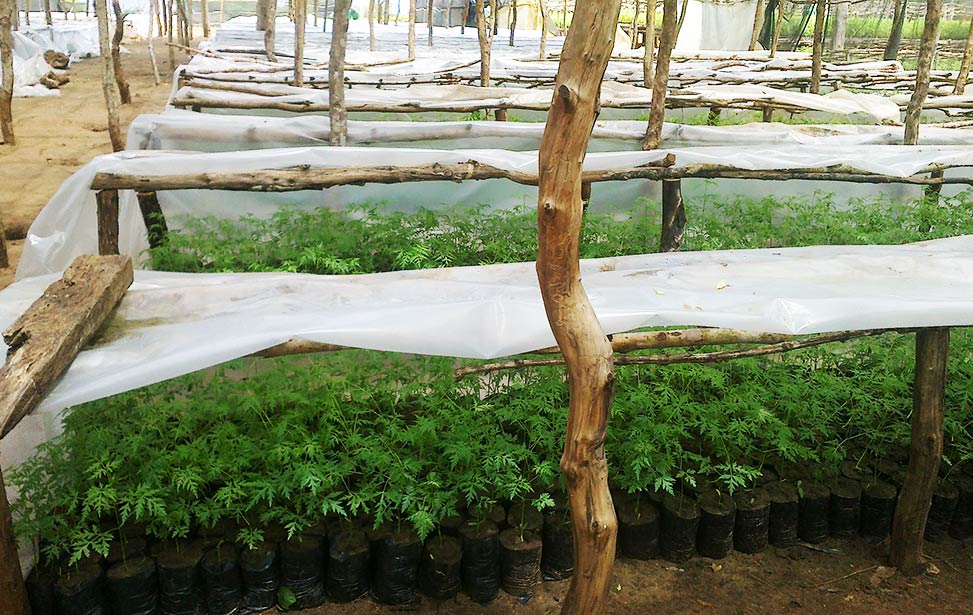
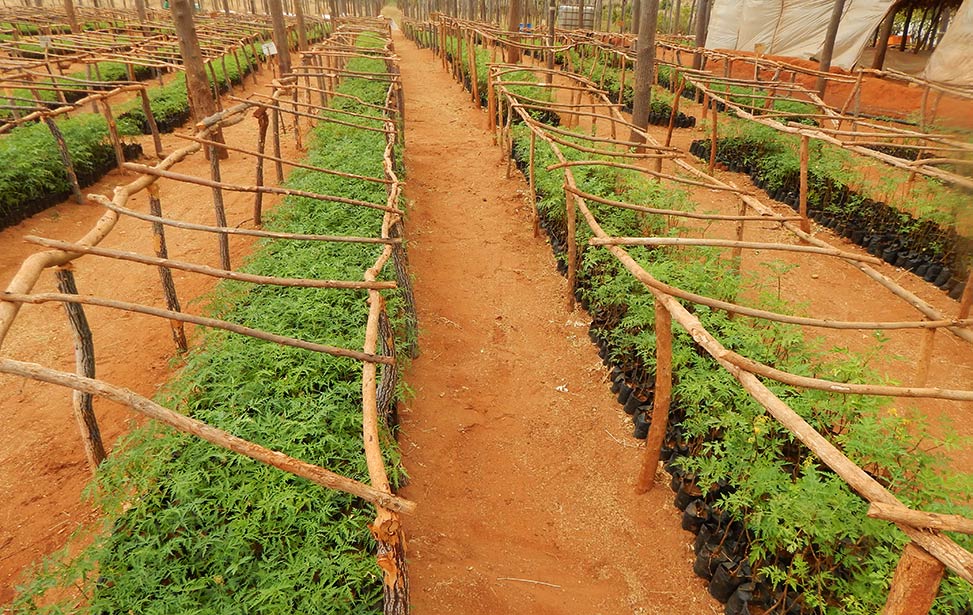
The soil is different from place to place. In Nyongoro, we need a stricter root development and have the mukau seedlings on raised beds to restrict root development (it is not good if the roots develop too fast) and to avoid getting in touch with the ground where fungus can propagate through sand. This way we also have better control over planting and time.